
Practical Tips for Keeping Kids’ Art Organized and Cherished

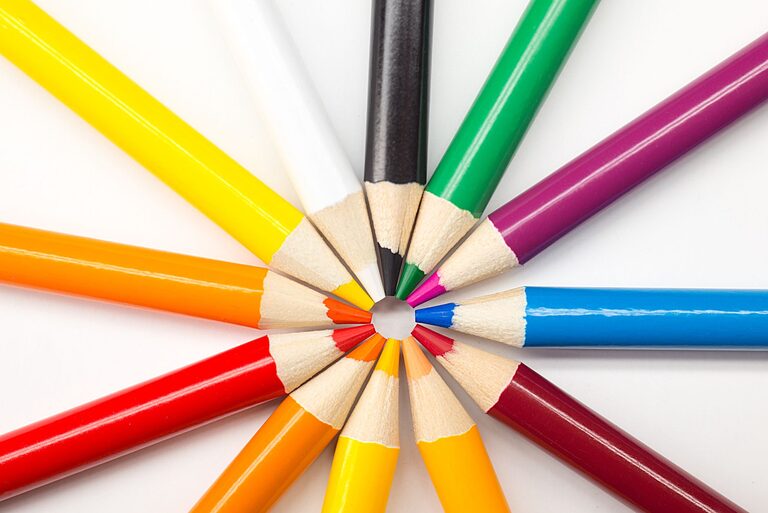
Children’s artwork is a wonderful way to capture their creativity and growth, but it can quickly pile up and create clutter. Finding smart ways to organize kids’ art helps preserve memories while keeping your home tidy and stress-free. If you’re looking for practical ideas to handle the flood of drawings, paintings, and crafts, this guide offers helpful tips and easy solutions.
Why Organize Kids’ Art?
Before diving into tips, it’s good to understand why organizing art is beneficial:
– Memory preservation: Kids’ art shows their development and imagination over time.
– Clutter control: Without systems, artwork can cover every surface.
– Encouragement: Organized displays motivate children to keep creating.
– Easy sharing: When art is sorted, sharing with family and friends becomes simple.
Getting Started: Sort and Select
The first step in organizing art is sorting through what you have.
Step 1: Gather All Artwork
Collect all pieces from around your home—fridge, backpacks, drawers, and shelves.
Step 2: Sort by Type and Date
Separate artwork into categories like drawings, paintings, 3D crafts, and collages. If possible, organize them by date or school year.
Step 3: Choose What to Keep
Kids create a lot! Decide which pieces to keep long-term. You might keep favorites, those marking milestones, or art that shows special effort.
Storage Solutions for Kids’ Art
Once you’ve sorted and selected art, it needs a safe, accessible place.
Flat Storage Options
– Portfolios: Large, flat folders designed to hold standard paper sizes. Store by year or type.
– Binders with Plastic Sleeves: Protects individual pieces and makes viewing easy.
– Flat Boxes: Archival storage boxes are great for fragile or oversized art.
3D Art Storage
– Use clear plastic bins with labels.
– Store in a dedicated shelf or cupboard.
– Consider photographing sculptures and crafts if space is limited.
Creative Display Ideas
Showcasing art encourages kids and keeps cherished pieces visible.
Rotating Gallery Wall
– Use clipboards, wire and clips, or magnetic boards.
– Rotate new art in regularly to keep the display fresh.
Frames and Shadow Boxes
– Frame special pieces for permanent display.
– Shadow boxes work well for 3D projects.
Digital Display
– Photograph or scan artwork.
– Use digital photo frames or slideshow apps to display on screens.
Digitizing Kids’ Art
Going digital is a space-saving way to preserve art for years.
– Scan or Photograph: Capture high-quality images.
– Organize Files: Create folders by year and child’s name.
– Create Digital Albums or Slideshows: Use photo apps or websites specialized in kids’ art collections.
Involving Your Child in Organization
Encourage kids to help with organizing their artwork:
– Let them choose favorites.
– Teach labeling with dates and descriptions.
– Make it a fun activity rather than a chore.
Regular Maintenance
Art collection grows fast. Set a routine to review and organize every few months.
– Decide what can be recycled or gifted.
– Update displays and storage.
– Back up digital files regularly.
Repurposing Art
Consider creative ways to reuse art:
– Turn drawings into greeting cards.
– Use parts of artwork for scrapbook pages.
– Create wrapping paper or decorations.
Final Thoughts
Organizing kids’ art doesn’t have to be overwhelming. With simple strategies and a little planning, you can create a system that celebrates your child’s creativity while keeping your home neat. Remember, it’s about cherishing memories and making art an enjoyable part of family life.